Table of Contents
delete_windows_old_folder
After an update, a migration to a newer version or an operating system reinstallation, your Windows may leave traces of an earlier version in a folder called Windows.old. We explain in this article what this file is for and the 3 different ways and methods to remove Windows.old from your PC.
What is Windows.old folder for?
During an update, this folder is kept by the system to be able to go back in case of a problem. When migrating or reinstalling Windows (without disk formatting), this folder contains the files from your previous Os installation, which also includes your personal documents. So you can access it to get what you need later.
You can find this folder in the drive c: \ of your hard drive location.
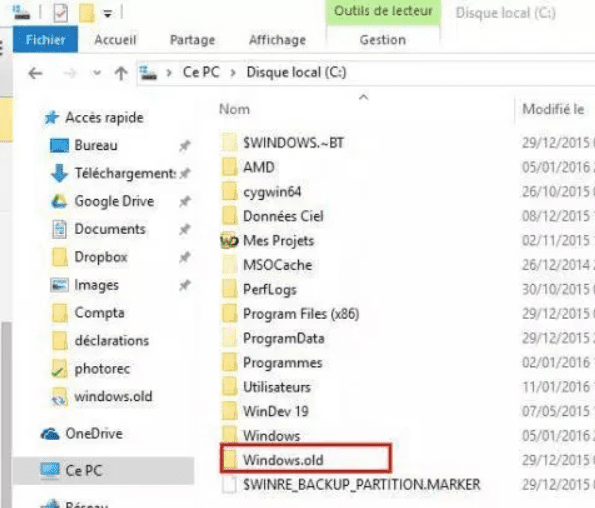
Windows.old folder from a previous installation
If you do not want to go back to a previous installation and if you have all the files you need (your documents, images, office, etc), keeping this folder is no longer relevant and it is just consuming unnecessary disk space.
So you can delete the Windows.old folder, but not just anyway! Do not try to do this by pressing the “Delete” key on your keyboard for example because you will get error messages and difficulties in getting rid of them later.
Method 1: Remove Windows.old using the Windows Disk Cleanup Utility.
The Disk Cleanup utility is available in all versions of Windows. This tool allows you to delete, among other things, temporary files but also our Windows.old folder.
Go to the Windows file explorer by pressing the Windows + keys R. Right-click on the Local Disk (C 🙂 then click properties.
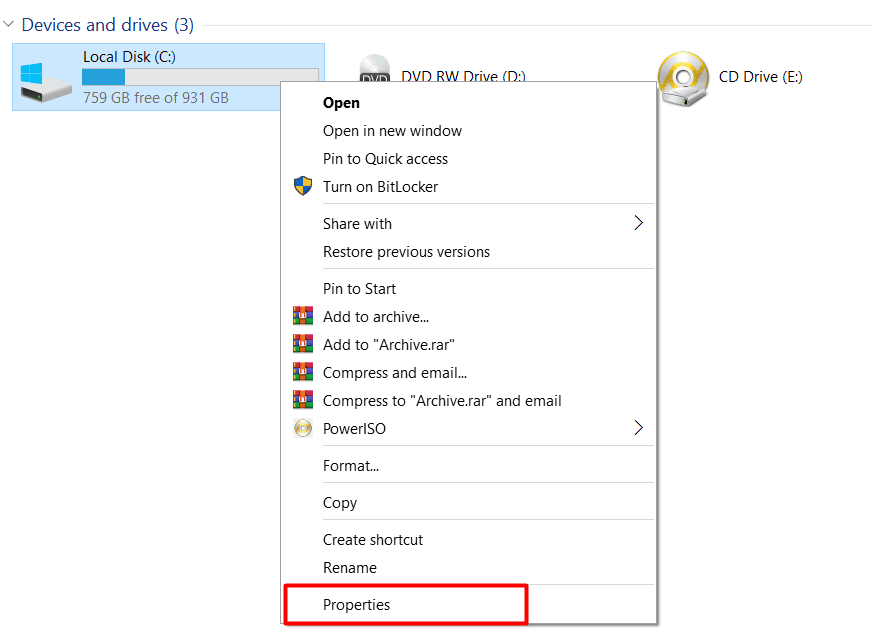
windows properties
On the General tab, click Disk Cleanup.

disk-cleanup
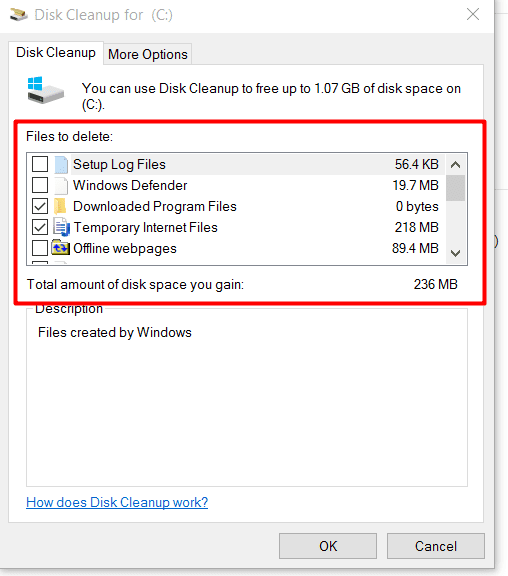
Then click Clean System Files.

clean-up-system-files
Tick Previous installation (s) of Windows and validate with Ok.
Method 2: Remove Windows.old using the Windows 10 Storage Settings
If you have an updated Windows 10 operating system version, you can remove an old installation of Windows using the Storage settings Wizard.
To access it, open the start menu and type Storage. You can also open it by clicking on this link: Open Storage Settings
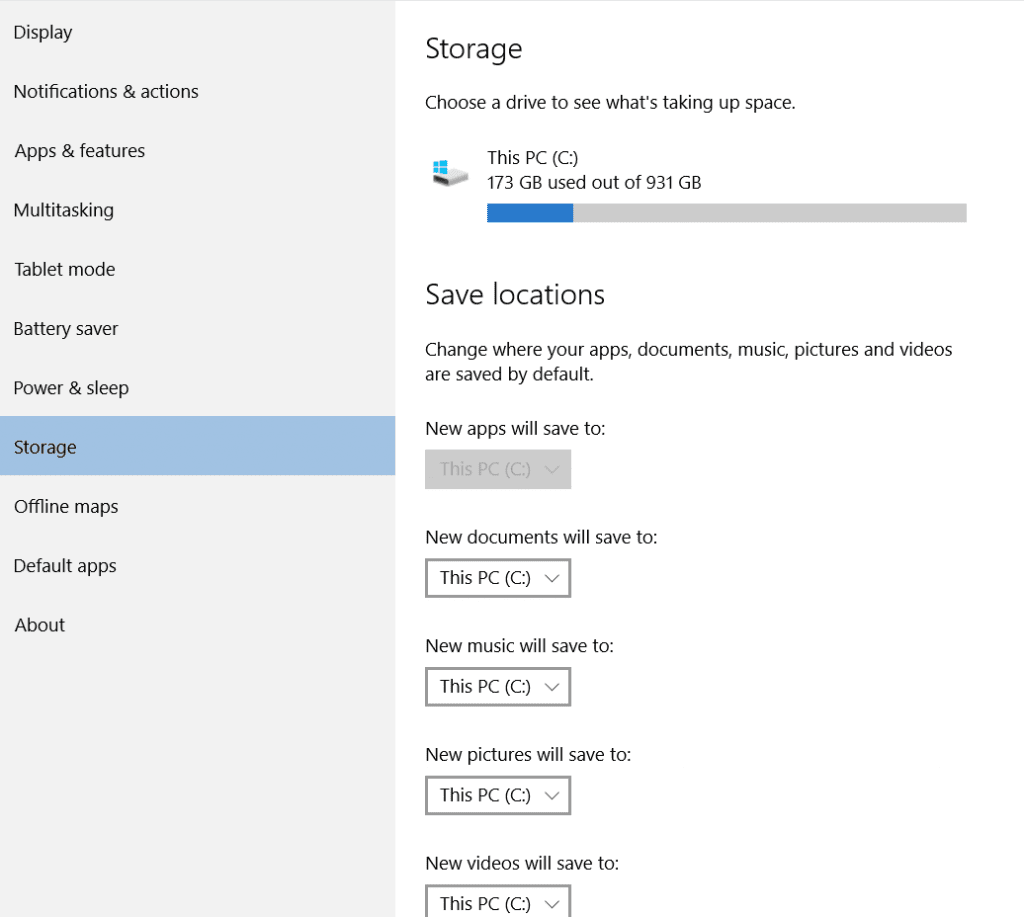
Click Temporary Files and wait for the system to perform an analysis.
Check Previous Windows Installation (s) and then press the Delete Files button.
Method 3: Enable automatic removal of Windows.old folder with Windows 10
With Windows 10, you can enable an option to automatically delete the Windows.old folder after 10 days. So you do not have to do it manually. To enable this feature, return to the storage settings and click Configure Storage Wizard or run it now.
Below, check Delete old versions of Windows.
Conclusion
Using one of these three solutions, the Windows.old folder should no longer clutter your hard drive.
In an older version of this article, I was explaining a method of removing Windows.old with CCleaner. It turns out that the new versions of CCleaner no longer offers the option to remove “Old Windows installation”.
