Table of Contents
Traditionally, a Raspberry Pi runs a version of Linux. In practice, this means that many functions on the Pi can be managed via the terminal, such as the installation of new programs or updates or server functions of the Pi. The advantage: This not only works directly on the Raspberry Pi, but also remotely, i.e. from another PC in the network. Secure Shell, or SSH for short, is used for this. The protocol enables an encrypted connection to the Raspi and the execution of terminal commands remotely. File transfers to and from the Pi can also be realized via SSH connection.
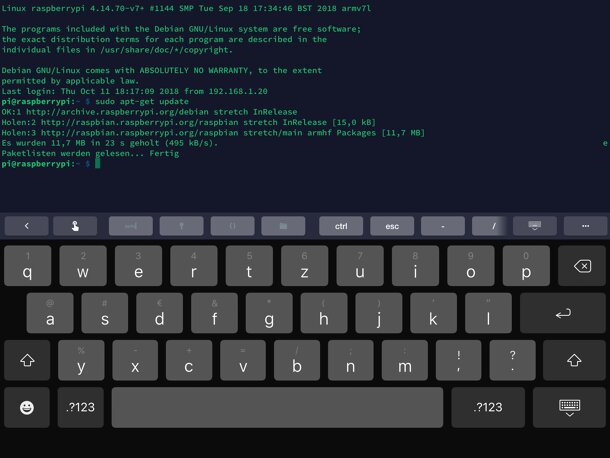
The use of SSH is particularly practical when the Raspberry Pi is operated “headless”, i.e. without a mouse, keyboard and monitor. SSH is also so common that a number of clients are available for practically all systems. You can control the Raspberry Pi via Windows, Linux, macOS or – thanks to SSH apps – even from your iPhone, iPad or Android smartphone. Setting up SSH on the Raspberry Pi is done quickly. We will show you how to activate the appropriate server on the Pi and allow remote access.
Hint: SSH poses a security risk if the RPi has access to the Internet. Therefore, be sure to change the default password via the command .passwd
Installing SSH on the Raspberry Pi
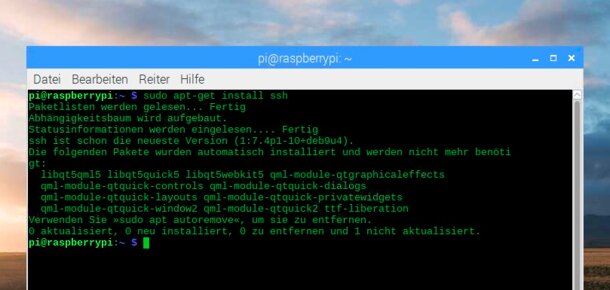
Current versions of the Raspberry Pi OS (formerly Raspbian) or most alternative Linux distributions come with an SSH server out of the box. All you have to do is activate it (see below). If you are using an older version of the Raspberry Pi OS or a distribution without a pre-installed SSH server, you can quickly install it. To do this, open a terminal on the Raspberry Pi and enter this command:sudo apt-get install sshNow all you have to do is start the SSH server. To do this, enter this command:sudo /etc/init.d/ssh startSo that you don’t have to start the SSH server manually every time, you can also call it automatically at boot. To do this, enter the following command into the Linux terminal:sudo update-rc.d ssh defaultsFrom now on, the Raspberry Pi is permanently equipped for SSH access.
Tip: Do you have no way to operate the RPi with keyboard, mouse and screen? Just create an empty file on the SD card in the boot directory called “ssh“. The file does not have a file extension! Now start your Raspberry Pi, SSH is automatically enabled and you should follow the further steps to change your password.
Allow SSH access
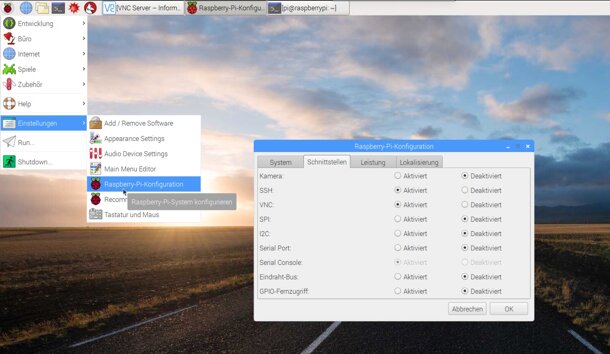
For security reasons, SSH on the Pi is disabled by default on the Raspberry Pi OS and most other Linux distributions. However, it is no problem to turn on the protocol and allow connections. If you run your Raspi with the standard distribution Raspberry Pi OS, you can enable SSH access via System Settings. To do this, open the “Settings – Raspberry Pi Configuration” menu from the start menu of the Raspberry Pi OS. In this menu, switch to the “Interfaces” tab and change the “SSH” item to “Enabled“. After clicking on “Ok“, you have to restart the Raspberry Pi once to turn on SSH access.
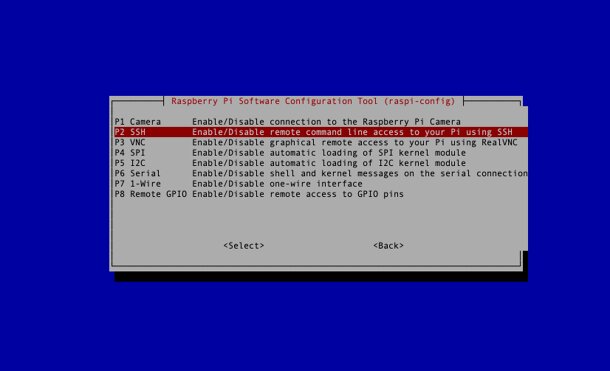
If you are working on the Raspberry Pi at the terminal level, activate SSH access via the configuration program of the Raspberry Pi OS. To open it, enter this command:sudo raspi-configHere you open the menu item 5 “Interfacing Options” via the arrow keys of the keyboard. Now navigate to point 2 “SSH” and answer the question of whether you want to activate the service with “Yes“. Now restart the Pi using the “sudo reboot” command. Then, the SSH connection to the Raspberry Pi works as shown below.
Note: To SSH access the Raspberry Pi, you need to know the username and password of the Pi. By default, the username is “pi”. You can change the user password in different ways. For example, you can change it in the Raspi-Config menu with item 1 “Change password for the current user“. On the graphical user interface, change the user password on the Pi in the configuration menu presented above.
Using SSH on Windows
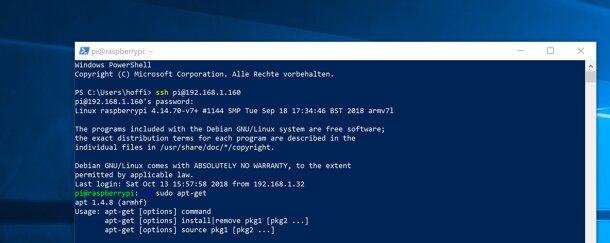
For a long time, Windows had to make do without its own SSH client. Starting with the Fall Creators Update of 2017, Microsoft has integrated an SSH implementation based on OpenSSH into the new command line PowerShell. So, just open PowerShell from the Start menu and type this command:ssh benutzername@IPAdressedesPiAs mentioned earlier, the default username is “pi”. You can find out the IP address of the Raspi, for example, via your router. On the Raspberry Pi itself, the terminal command “ifconfig” outputs the current network settings and thus also the IP address. On the first connection, you will need to confirm the SSH keys of the Pi by typing “yes“. After entering the user password, you can conveniently carry out the remote maintenance of the Pi directly under Windows.
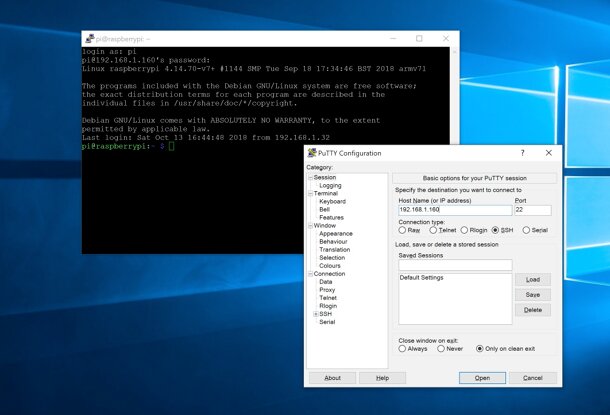
In older Windows versions or on Windows 10 systems that have not yet been provided with the newer system updates, you have to resort to external programs for the SSH connection to the Pi. Probably the most popular SSH client for Windows is PuTTY. The free program opens an SSH connection to your Pi (or any other SSH server, of course) in a terminal window. To do this, simply enter the IP address of the PI in the “Host Name” field, select “SSH” under “Connection Type” and click on “Open“. In the window that opens, enter the username and password. Now you can operate the terminal of the Raspberry Pi from Windows. Of course, you can also use PuTTY on Windows 10 as an alternative to Powershell.
Using SSH Connection on Linux or macOS
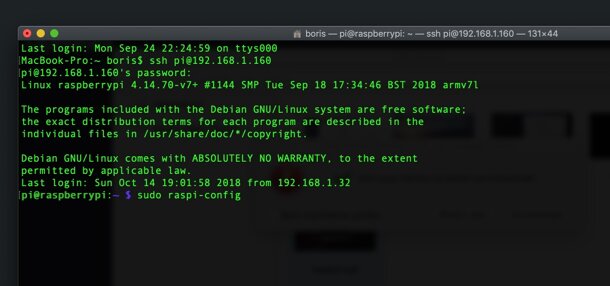
If you are working under a Linux distribution or with the Mac, the SSH connection to the Pi is much easier. Both systems come with an SSH implementation ex works. Simply open the Linux or macOS terminal and enter the appropriate command. By default, for example, you connect to the Raspberry Pi:sshvia SSH with the following command benutzername@IPAdressedesPi Now you can let off steam on the command line of the Raspberry Pi, just like with Windows.

