Table of Contents
Jailbreaking is back in a big way but there is a lot of confusion about how to perform it, which tools to choose and so on. With this article we are going to clarify the situation and provide you with a first tested guide completely written by iSpazio.
At this very moment, there are two types of Jailbreaks:
- Jailbreaking with Checkra1n (semi-tethered)
- Jailbreaking with Unc0ver (semi-untethered) can be achieved through two methods:
- AltStore
- CydiaImpactor
Checkra1n exploits a hardware exploit that is applicable from the iPhone 5 up to and including the iPhone X, regardless of the firmware version installed on the device.
Unc0ver, on the other hand, exploits a software exploit that can be patched by Apple at any time. For now, we know that it works on all versions of iOS 13, including the very latest iOS 13.5 release. Since it exploits a software bug, it is independent of the iPhone model we own, so we can say that it works on all iPhones, even the most recent XS, XR, and iPhone 11/Pro.
Which tool should I use to jailbreak?
If you have a newer iPhone or iPad, with an A12 or A13 processor, the only system you can use is Unc0ver. On the other hand, if you have an iPhone or iPad with an A11 or earlier processor, you have the option to choose one of the two methods. What can determine the choice of one of the two methods? The determining cause is the type of Jailbreak you get. As already written, Checkra1n is a semi-tethered Jailbreak, i.e. the Jailbreak (Cydia) will disappear from your device every time it is rebooted or turned off and on again. You will have a device in a non-jailbroken state again and to regain the Jailbreak you will have to run the Jailbreak Guide again (the one you find below) using a computer. Unc0ver, on the other hand, is a semi-untethered jailbreak. Again, when we restart or turn on and off the device we will see Cydia disappear, but in this case, the Unc0ver application will remain installed and we can run it again (directly from the device) to regain the Jailbreak in a few seconds, without needing a computer. In general, a hardware Jailbreak is more reliable and lasts forever, this one from Unc0ver on the other hand, is probably a little less reliable but certainly more convenient, because it takes less time to restore the Jailbreak in case of reboot.
Having said that, now in this article we are going to see the Guide to Jailbreak with Checkra1n on Mac. Checkra1n is not available for Windows, but there is a way to use it on Windows. We will see it later with a special guide but we warn you right now that it will be quite a bit more difficult than the Mac guide and more things will be needed.
Compatible Devices to Jailbreak with Checkra1n
Checkra1n is applicable from iPhone 5 up to iPhone X (included) with any firmware version, even the latest one. It can’t run on iPhone XS, XR, iPhone 11 and 11 Pro. The same goes for iPads: Crackra1n supports all iPads with an A11X processor or earlier, while it doesn’t support iPads with an A12X processor or later.
How to Jailbreak with Checkra1n on Mac
1. Download the latest version of Checkra1n directly from the official website
2. Double-click on the downloaded file (checkra1n beta 0.10.2.dmg) and we’ll see this:
3. Drag the Checkra1n cone to the Applications folder. Now let’s open the Applications folder and start Checkra1n.
4. We will see a warning saying “Unable to open checkra1n because the developer cannot be verified”. Let’s click on Cancel and get around this obstacle.
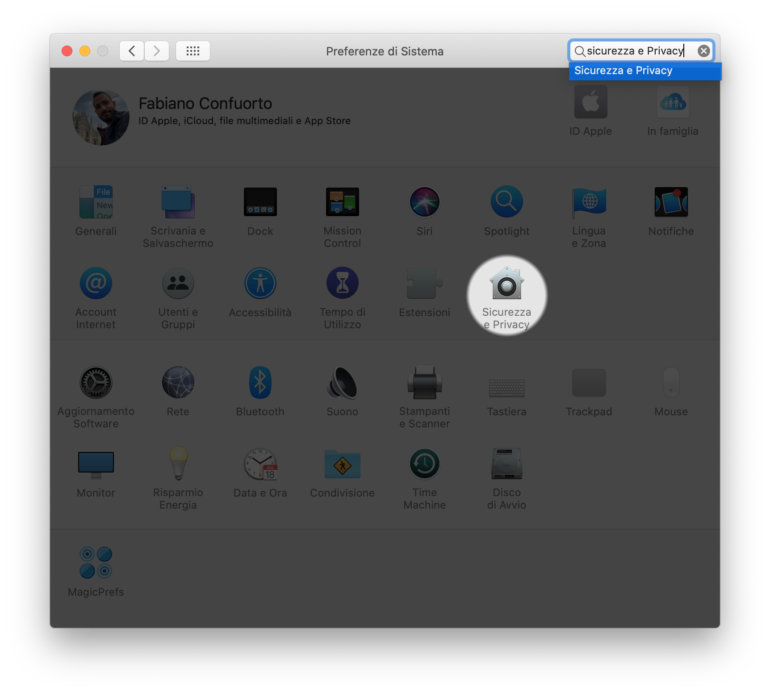
5. Open your Mac’s System Preferences and select the Security & Privacy icon
6. In the “General” section we will find a text “The use of checkra1n has been blocked because it does not come from an identified developer”. Click Open anyway.
7. At this point, the program will finally open. We connect the iPhone we want to jailbrekk directly to the computer via the USB-Lightning cable. Do not use stands or other accessories. There must be a direct connection between the computer and the device, with no dongles or anything in between.
8. Checkra1in leggerà e riconoscerà automaticamente il vostro iPhone connesso. Se è un iPhone X o precedenti, potrete procedere, altrimenti vi comparirà un avviso di incompatibilità. Ricordatevi che checkra1n supporta soltanto iPhone ed iPad con processore A11 o precedenti, quindi i dispositivi più nuovi dell’iPhone X non possono utilizzare questo metodo di Jailbreak ma devono affidarsi ad Unc0ver. Quando siete pronti per iniziare, premete il tasto Start.
9. To prevent filesystem corruption, checkra1n will put your device into Recovery Mode. The process is automatic. When it’s done, an image with the Lightning cable will appear on the screen of your iPhone/iPad and the finder window will probably also open automatically with the connected iPhone. Ignore the window, close it and wait for the next step.
10. The next step is to put your iPhone or iPad into DFU. This is an automatic process that you will have to do yourself by following the on-screen instructions.
DFU mode activates:
- Pressing the right side key + the Volume Down key at the same time for 4 seconds. At the end, the right side button will be released and you will have to continue to press the Volume Down key for 10 seconds.
11. At the end of the process, the code for the actual Jailbreak will be injected inside your phone. Your device will restart and ask you for the unlock code. Unlock it and then wait without touching anything.
12. On your computer, click Done. Go back to your smartphone and wait for the Checkra1n app to appear. Open the app and wait for Cydia to appear, then click on it and then press Install.
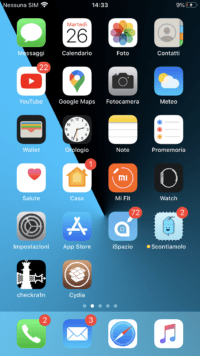
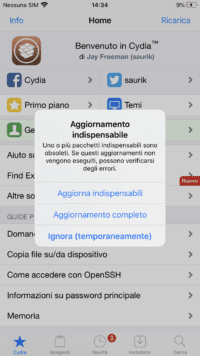
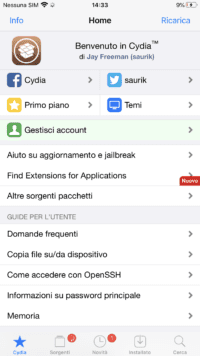
13. At the end, after a few seconds of waiting, you will also see the Cydia icon on the SpringBoard. The jailbreak is complete! Open Cydia, install the necessary updates, and you’re done.
If you turn your phone off and on again or restart it, the Jailbreak will be gone. To get it back you will have to re-perform the various steps of this guide, which will flow very quickly. When it’s done, you’ll get Cydia and all the installed Tweaks back. In general, there’s no reason to restart or turn off your iPhone, so in principle, you may almost never need this trick.

