Table of Contents
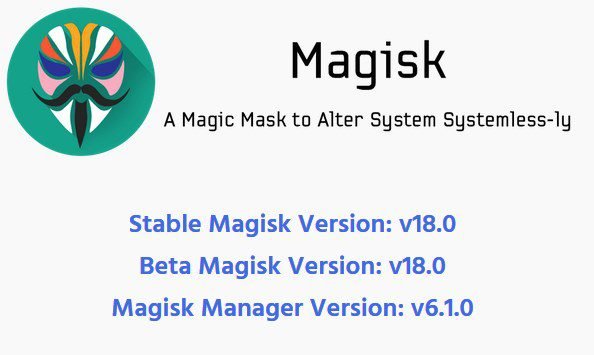
Android smartphones users who want to have a rooted device can now download the latest stable version of Magisk v18.0 and Magisk Manager 6.1.0 by following the guide in this post. With magisk you can now get a little more control and functionality on your device, phone or tablet, even if you are a new Android user or only a basic knowledge.
With the new update you can now enjoy better functionality through MagiskHide, which allows you to bypass the root checks in certain applications. One of the most popular tool for rooting Android devices, phones and tablets. It is now possible to obtain root permissions in the Android 9.0 and without going through the Google SafetyNet protection. Modifications are done systemless-ly, which means applying official OTAs is much simpler.
Download Links:
If you already have Magisk installed on your device, it is recommended to update directly using Magisk Manager. Magisk does NOT have a website. DO NOT download Magisk from unofficial sites. Use the official links below.
Stable Magisk Version: v18.0
Download
Beta Versions Magisk
Download
Magisk Manager Version: v6.1.0
Download
Latest Uninstaller
Download
How to install
The installation will give you ROOT, a super powerful system interface, support for modules, and will hide SafetyNet tests.
Install with Custom Recovery:
Step 1 : Make sure first of all (remove the root), unroot the device, the best solution would be, restore the boot image to the stock.
Step 2: Scroll up and Download the Magisk zip file or click here.
Step 3: Reboot your phone into your custom recovery and flash the downloaded zip file. If you do not have a custom recovery installed on your device, you can find a guide online on how to install TWRP and root with Magisk on your specific Android devices.
Install with Magisk Manager:
This method does not need root, and also does not require a custom recovery.
However, you MUST have a stock boot image dump beforehand, and you also have to be able to flash the patched boot image, either through fastboot/download mode or ODIN.
Step 1: Scroll up Download and Install the latest Magisk Manager or click here
Step 2: If you’re planning to flash the patched boot image through ODIN, go to Settings > Update Settings > Patched Boot Output Format, and select .img.tar. For normal users leave it as the default .img
Step 3: Press Install > Install > Patch Boot Image File, and select your stock boot image file.
Step 4: Magisk Manager will now patch your boot image, and store it in [Internal Storage]/Download/patched_boot.img[.tar]
Step 5: Copy the patched boot image to your PC. If you can’t find it via MTP, you can pull the file with ADB: adb pull /sdcard/Download/patched_boot.img[.tar]
Step 6: Flash the patched boot image to your device and reboot. Here is the command if using fastboot: fastboot flash boot /path/to/patched_boot.img

